One thing I made recently was a fleece tie blanket for my sister-in-law's Christmas present. I hadn't realized how easy these are to make - no sewing and all you need is a scissors! Now I understand why I see them everywhere.
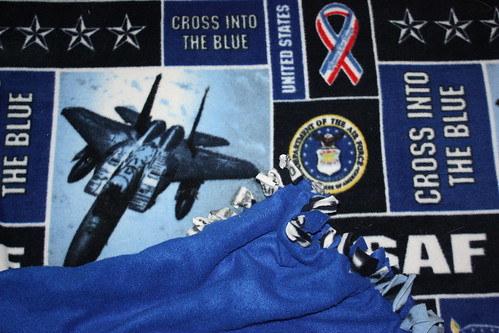
1. The first step is to get two pieces of fleece that are the same size. The pieces I had were both 62 inches wide and 72 inches long. My sister-in-law is going into the air force, so I used the pattern below for the top and blue fleece for the back.
United States Air Force Fleece Pattern

2. Take the two pieces of fleece and put the "wrong" sides together, with the "right" sides of the fabric visible. It might not always matter, but for my piece, I had to be careful that right side was facing out for the front, or all the text would have been backwards. For the blue backing, I put the softer side of the fleece on the outside.
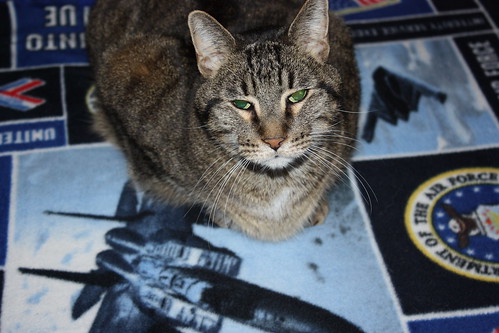
3. Arrange the two pieces of fleece, one lined up over the other, on a flat surface. Mine was large enough, the only place I could do this was on the floor. This resulted in some unexpected assistance with making sure the fleece was flat.
Helper Dog

4. Cut a square out of all four corners. This is to prevent bunching in the future. In this image, you can just barely see the blue fleece underneath the USAF fleece.
Cutting Corners

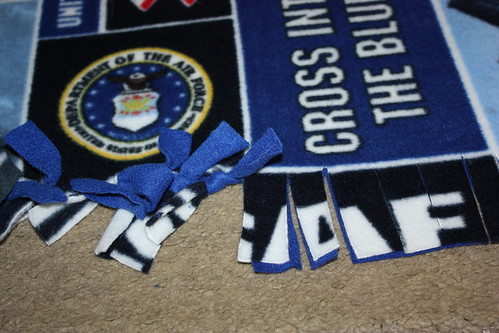
5. Cut 1-inch-wide fringes along the edge of one side of the blanket. How long you make the fringes depends on what you'd like the final product to look like, but they should be three inches long at minimum. Then, beginning at one end, tie the first top fringe to the fringe below it. Please see the image below as an example - the cut fringes are on the right, and the ties are on the left.
Ties & Cuts
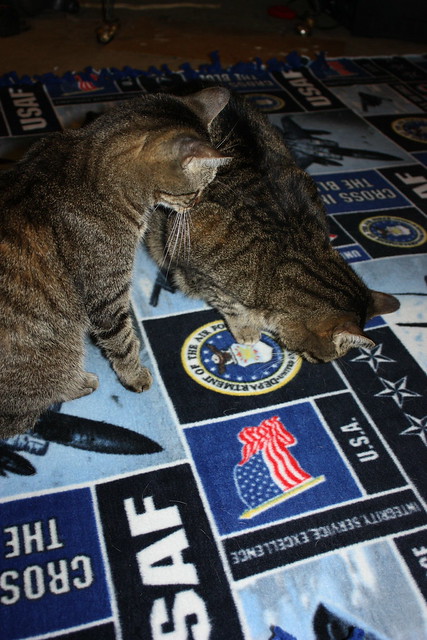
6. Repeat the process on all four sides of the fleece, being careful not to wrinkle the fleece. This took a while for me, which resulted in more unexpected help with keeping the fleece flat.
Helper Kitty
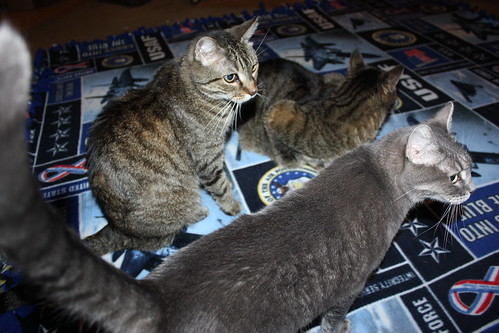
A lot of unexpected help.
2 Helper Kitties
3 Helper Kitties
7. Start back on the edge you began with and re-tighten the knots. If the fabric starts bunching, stretching the knotted edge should smooth the blanket out.
Finished Fleece Tied Blanket
Finally I was finished! And I realize that I didn't take that great of a photo of the finished product, but hopefully, you can still see the tied edge. Even so, now you know how to make a fleece tied blanket!
Happy Friday!
No comments:
Post a Comment